
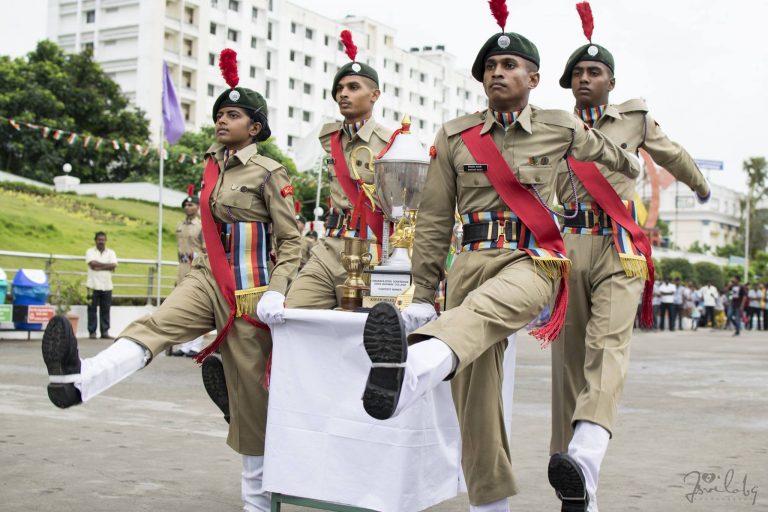
Drill
Drill
To create a
sense of obedience in training, to bring agility in the body, to dress
properly, to increase self-confidence, Cadets are drilled to reinforce teamwork, discipline, and body-mind
coordination.
First of all, drill in the army was started in 1866 by General Droll of
Germany. The process of imitating a work-method in a systematic way is called
drill. There are two types of drill: –
(1) Open Drill
(2) Closed Drill
Principle
Of Drill-
Key principles of drill-
(1)
Smartness
(2)
Steadyness
(3) Coordination
Aims Of Drills-
The main objectives of the drill are as follows: –
(1)
To inculcate the spirit of discipline in cadets
(2)
Teaching
cadets to dress and walk
(3)
To develop among the cadets the habit of
working together
(4)
Cadets to learn
command control
(5) To develop cadets’ agility and self-force
Good Habits of Drills-
The following things should be taken care of by
the cadet before going to the drill-
1. Dress should be clean and crisp and pressed
2. All buttons on shirt and pants
should be buttoned
3. shoes should be polished
and fit well
4. The belt should be coloured and
its brass should be polished
5. Short hair
6. Shave before drill
7. The cap should be tightly fitted on the head
Words Of Command-
Drill’s success or failure depends on the words of command for a good word of command, the parade commander should pay attention to the following points: –
1.Say the word of command loudly and clearly
2.’WARNING’ Speak the word of
command in a normal voice and the executive in a very high-pitched voice.
3. Prolong the warning word of
command and speak the executive word of command quickly.
4. Keep some distinction between speaking a warning and an executive word of command.
Drill Moments-
The main movements of the drill are
as follows: –
1.
Attention- In the
position of alert, both the heels are together and the paws are open at an
angle of 30 degrees.
2.
Rest- While coming to the resting position
carefully, put the left foot while flying 6″ high and removing it 12″.
3.
Stand at Ease- In this condition, without removing the feet, you can move the
upper part of the waist. And the body can be given rest. Talk in this
situation, don’t want to move here and there.
4.
Quick March- The left leg and the right hand come out together and the left arm comes
out quickly from the shoulder.
5.
Halt- Complete the step of the left leg, then join the right leg with
speed and cut the right arm from the nearest road.
6.
Right Turn- Keeping the arms
close to the body, bend 90 degrees to the right with the help of the heel of
the right foot and the toes of the left foot and jerking the left leg forward,
join it with the right leg
7.
Left Turn- Turning 90 degrees on the heel of the left foot
and the toes of the right foot, join the right pair foot with the left foot.
8.
About Turn- With the help of the heel
of the right foot and the toe of the right foot, turn 180 degrees to the right
side, thus taking the left foot in front and joining the right foot